Colour Corrector
Colour corrector is a very useful tool in media study’s as it allows us to film
in almost any light and be able to see it clearly and also to fashion it to suit
a specific genre. For our group it allows us to darken bright shots and make
them look creepier for our horror teaser.
in almost any light and be able to see it clearly and also to fashion it to suit
a specific genre. For our group it allows us to darken bright shots and make
them look creepier for our horror teaser.
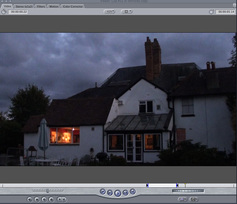
I have taken a shot of a house we were contemplating using in our horror teaser trailer and used colour corrector on it to experiment with what we could do. Jessie (our main editor) is able to do more on final cut express and colour corrector so this is a brief experiment to show how we use it.

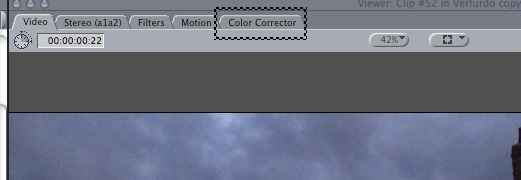
To find colour corrector on final cut express, go to ‘Effects’→ ‘Video Filters’
→’Colour Correction’ → ‘Colour Corrector’ as shown above. This must be done after selecting a specific clip (double clicking it) or the “Colour Corrector will be gray and unable
to be selected. Once colour corrector has been clicked it will open a tab. This tab will appear above the window of the clip you selected as shown below.
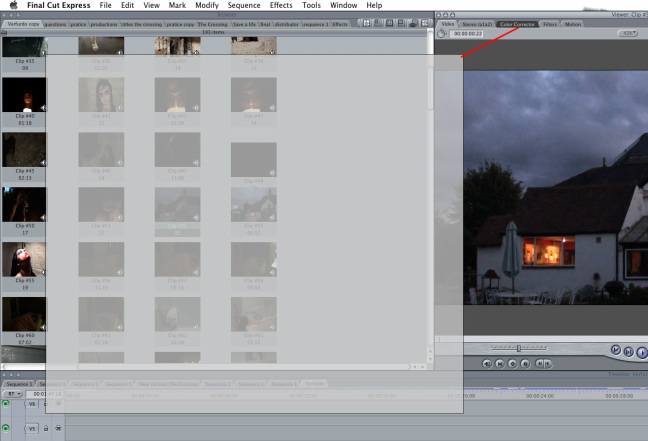
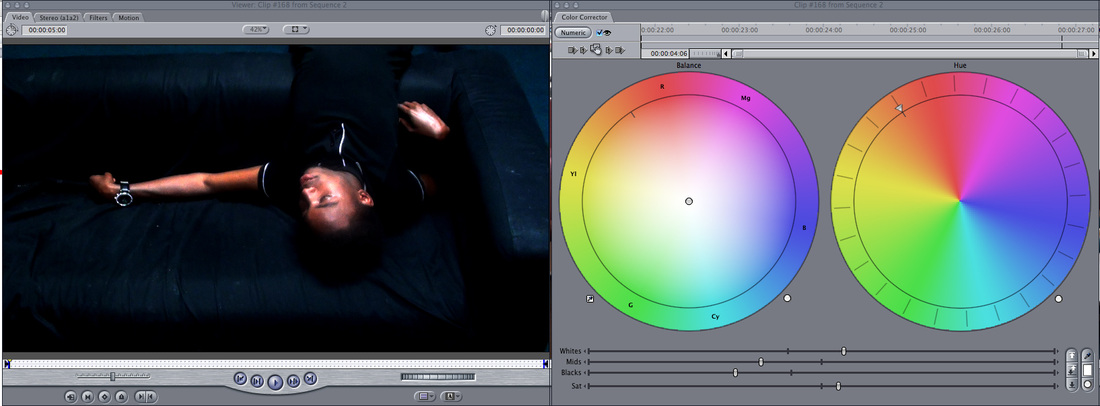
To make this more manageable to work with and to view the effects of the changes made on colour corrector instantly, you can drag the tag to open a new window that you can use to change the selected clip as shown above. The image below shows what colour corrector looks like. By moving the bars close to the bottom of the window you can adjust the effects of darkness or light and the two circles above can be used to phase the colour.

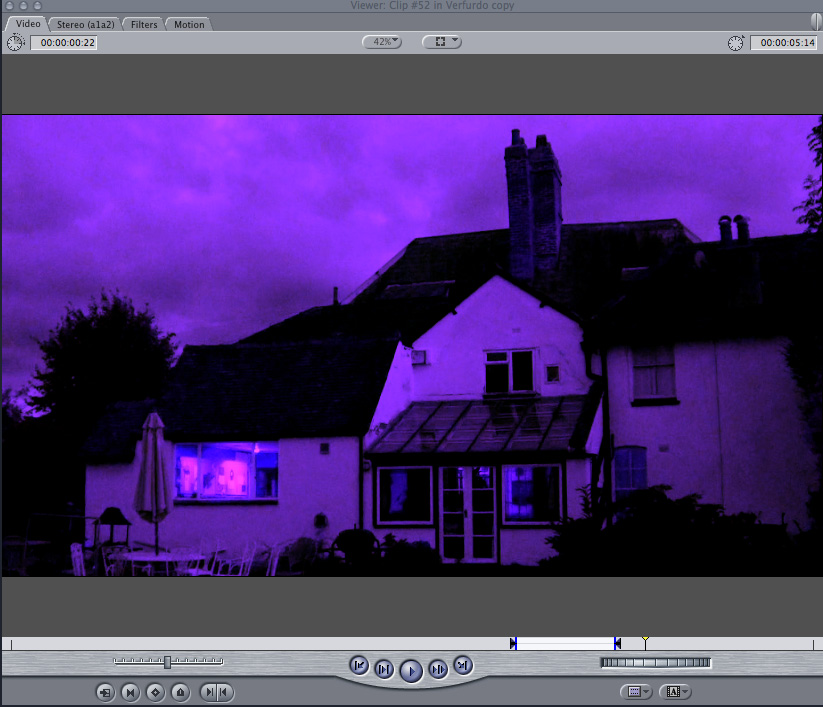
The image above is the image we started with edited with colour
corrector by changing the lights and the darks, and by phasing the colour to a
blend of purple. The image below is one that Jessie did by using the lights and
the darks to darken areas of the shot to give it a creepy/horror setting when it
was filmed in a normal light.
corrector by changing the lights and the darks, and by phasing the colour to a
blend of purple. The image below is one that Jessie did by using the lights and
the darks to darken areas of the shot to give it a creepy/horror setting when it
was filmed in a normal light.
(JC,JH,BC)
